Trezor.io/start: Your Complete Guide to Safe Crypto Setup
If you're new to hardware wallets or shifting from an online wallet, Trezor.io/start is your official starting point for setting up a Trezor device. This guide will walk you through the essential steps, highlight security tips, and make sure your setup is smooth, safe, and beginner-friendly.
What Is Trezor.io/start?
Trezor.io/start is the official setup page for all Trezor hardware wallets, including Trezor Model One and Trezor Model T. Instead of relying on third-party instructions, the page provides verified steps to initialize, update, and secure your device. Using this page ensures you're protected against fake links and malware.
Step 1: Visit Trezor.io/start
Begin by opening a secure browser and entering Trezor.io/start manually. Avoid clicking random links to prevent phishing attacks. Once the page loads, you’ll be asked to choose your device model.
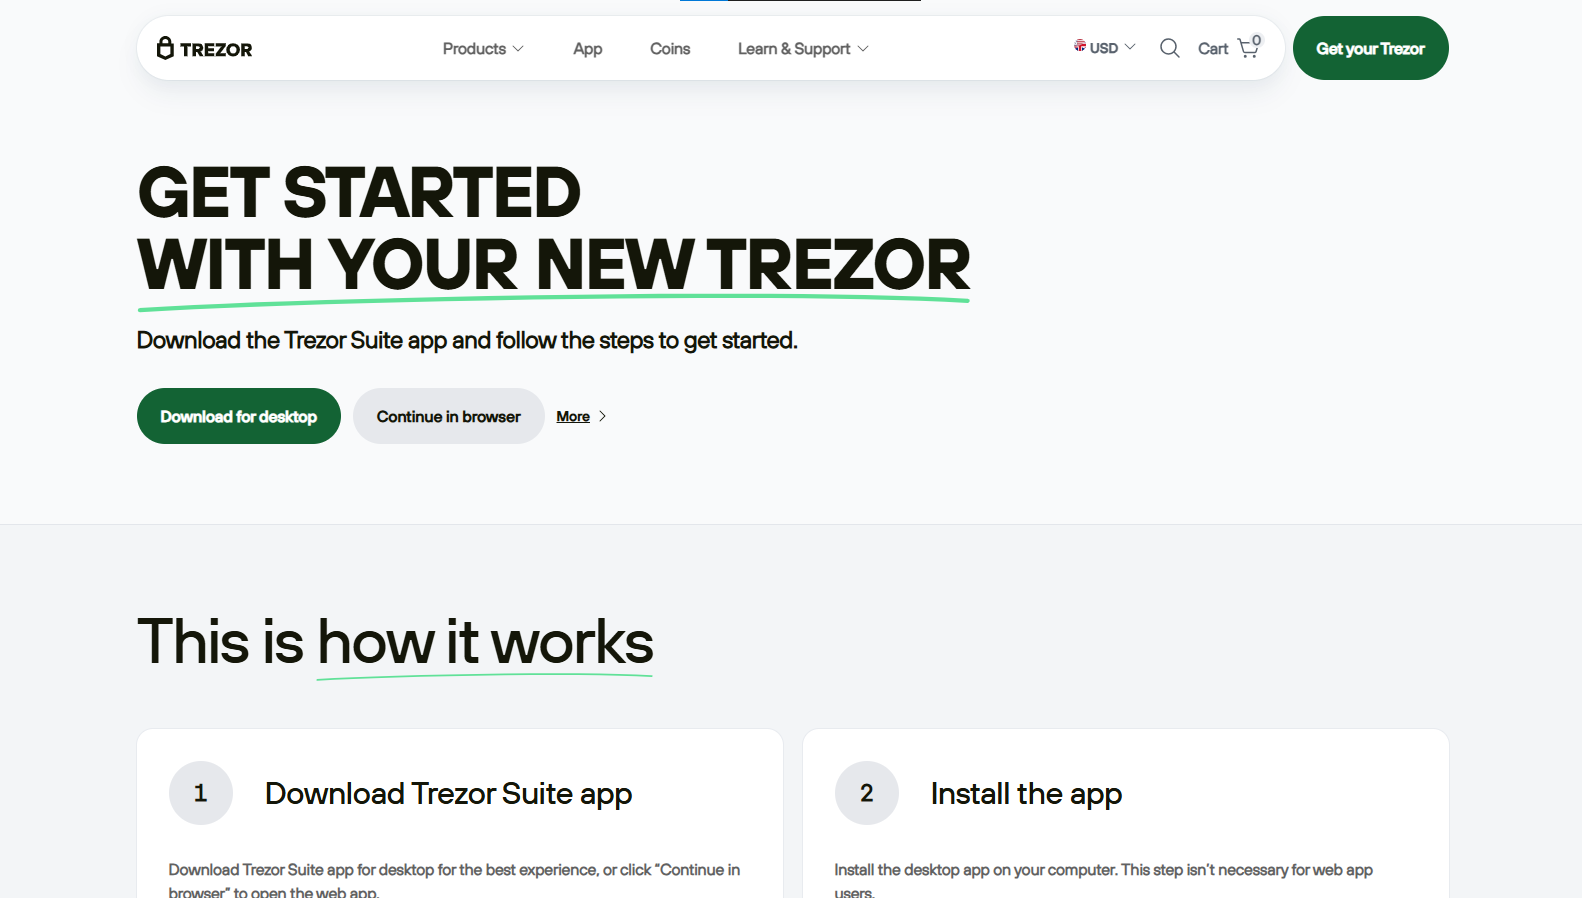
Step 2: Download and Install Trezor Suite
To use your Trezor wallet effectively, you need the official desktop or web app called Trezor Suite. The setup page guides you to download the correct version for Windows, macOS, or Linux. After installation, open the app and connect your hardware wallet using the USB cable.
Step 3: Initialize Your Device
When you connect your Trezor for the first time, you'll be prompted to create a new wallet. The device may require a firmware update before proceeding. Follow the on-screen instructions carefully. The process only takes a few minutes and prepares your device for secure use.
Step 4: Secure Your Recovery Seed
This step is the most important part of the setup. Trezor will generate a recovery seed—usually 12, 18, or 24 words. Write these words on paper and store them offline. Never take screenshots, store them in cloud services, or share them digitally. Your recovery seed is the only way to recover your funds if your device is lost, damaged, or reset.
Step 5: Set a Strong PIN
After saving your recovery phrase, you’ll create a PIN for everyday access. Choose a number that’s not easy to guess. The Trezor.io/start page explains the PIN entry method, which uses a secure on-screen grid to prevent keylogging attacks.
Step 6: Add Crypto Accounts
Once your wallet is initialized, you can start adding accounts for Bitcoin, Ethereum, and other supported cryptocurrencies. The Trezor Suite interface makes navigation easy and user friendly. You can send, receive, and track your assets directly in the app.
Why Use Trezor.io/start?
Here are a few reasons the official setup page matters:
✅ Authenticity: Ensures you download only the original Trezor Suite.
✅ Security: Protects you from counterfeit wallets and fake apps.
✅ Guided Setup: Offers clear steps even for beginners.
✅ Ongoing Updates: Keeps your firmware and software secure.
Common Security Tips
While using Trezor.io/start, keep these best practices in mind:
Always visit the website by typing it directly.
Store your recovery seed in a safe, offline location.
Never share your PIN, seed phrase, or wallet details.
Check for the lock icon (HTTPS) in the browser.
Troubleshooting Tips
If something goes wrong during the process:
The device doesn’t connect? Try another USB cable or port.
No prompt to update? Open Trezor Suite again manually.
Seed phrase mismatch? Reset the device and restart the process.
These issues are usually easy to fix by following on-page instructions.
Final Thoughts
Getting started with your Trezor wallet is simple when you follow Trezor.io/start. The process ensures your digital assets stay safe while giving you full control of your crypto. Whether you're a beginner or an experienced investor, starting through the official page guarantees you’re using the most secure and up-to-date setup possible.

Write a comment ...